
Google Analytics is a fantastic tool for tracking performance on your website and marketing channels. It has just about everything a merchant or marketer needs (and oftentimes much more than they need!) to understand what’s working, what’s not and where opportunities exist. Setting Analytics up is quick and simple, and the out-of-the-box installation is typically enough to provide high-level reporting and metrics.
There are some default settings, however, that you should know about. Without truly understanding how Google Analytics measures data, you may make optimization decisions based on incorrect or misleading data.
Following are the key default settings of Google analytics that you should be aware of:
Demographic + Interest Reports
You must enable the ability to pull audience demographics and interest reports, and enable advertising features. This isn’t done in the standard setup because Google needs to collect additional data, and they want your express permission to do so.
These reports allow you to see Age, Gender, Affinity Category (general, long-standing interests) and In-Market Segments (temporary interests, surrounding a current purchase intent) of the folks visiting your website.


When you enable demographic and interest reports, you should also update your privacy policy to let users know you are collecting additional information about them.
IP Address Filters
Google doesn’t filter out traffic coming from your company by default, but it is possible to add filters to remove this traffic from reporting.
If you have a lean team and a lot of traffic, it’s probably not a major issue. But if you have numerous employees that are always visiting your website for one reason or another, it’s smart to add this filter. That way, when you evaluate data and use it to make business decisions, it’s only factoring in sessions from actual customers, not employees.
It’s pretty simple to add IP address filters in Google Analytics. Follow instructions here and make sure you’re adding in IP addresses of all your office locations and staff that may work remotely.
Integration with other Google Tools
Linking your Google AdWords and Google Search Console accounts will allow for in-depth analytics and insights around traffic and conversions driven from any paid search and organic search efforts on Google.
You must set up these integrations in the Admin section of your Google Analytics Account. Google Search Console is linked through the “Property Settings” (scroll to the bottom to find “Adjust Search Console” button) and AdWords is linked through the “AdWords Linking” section.

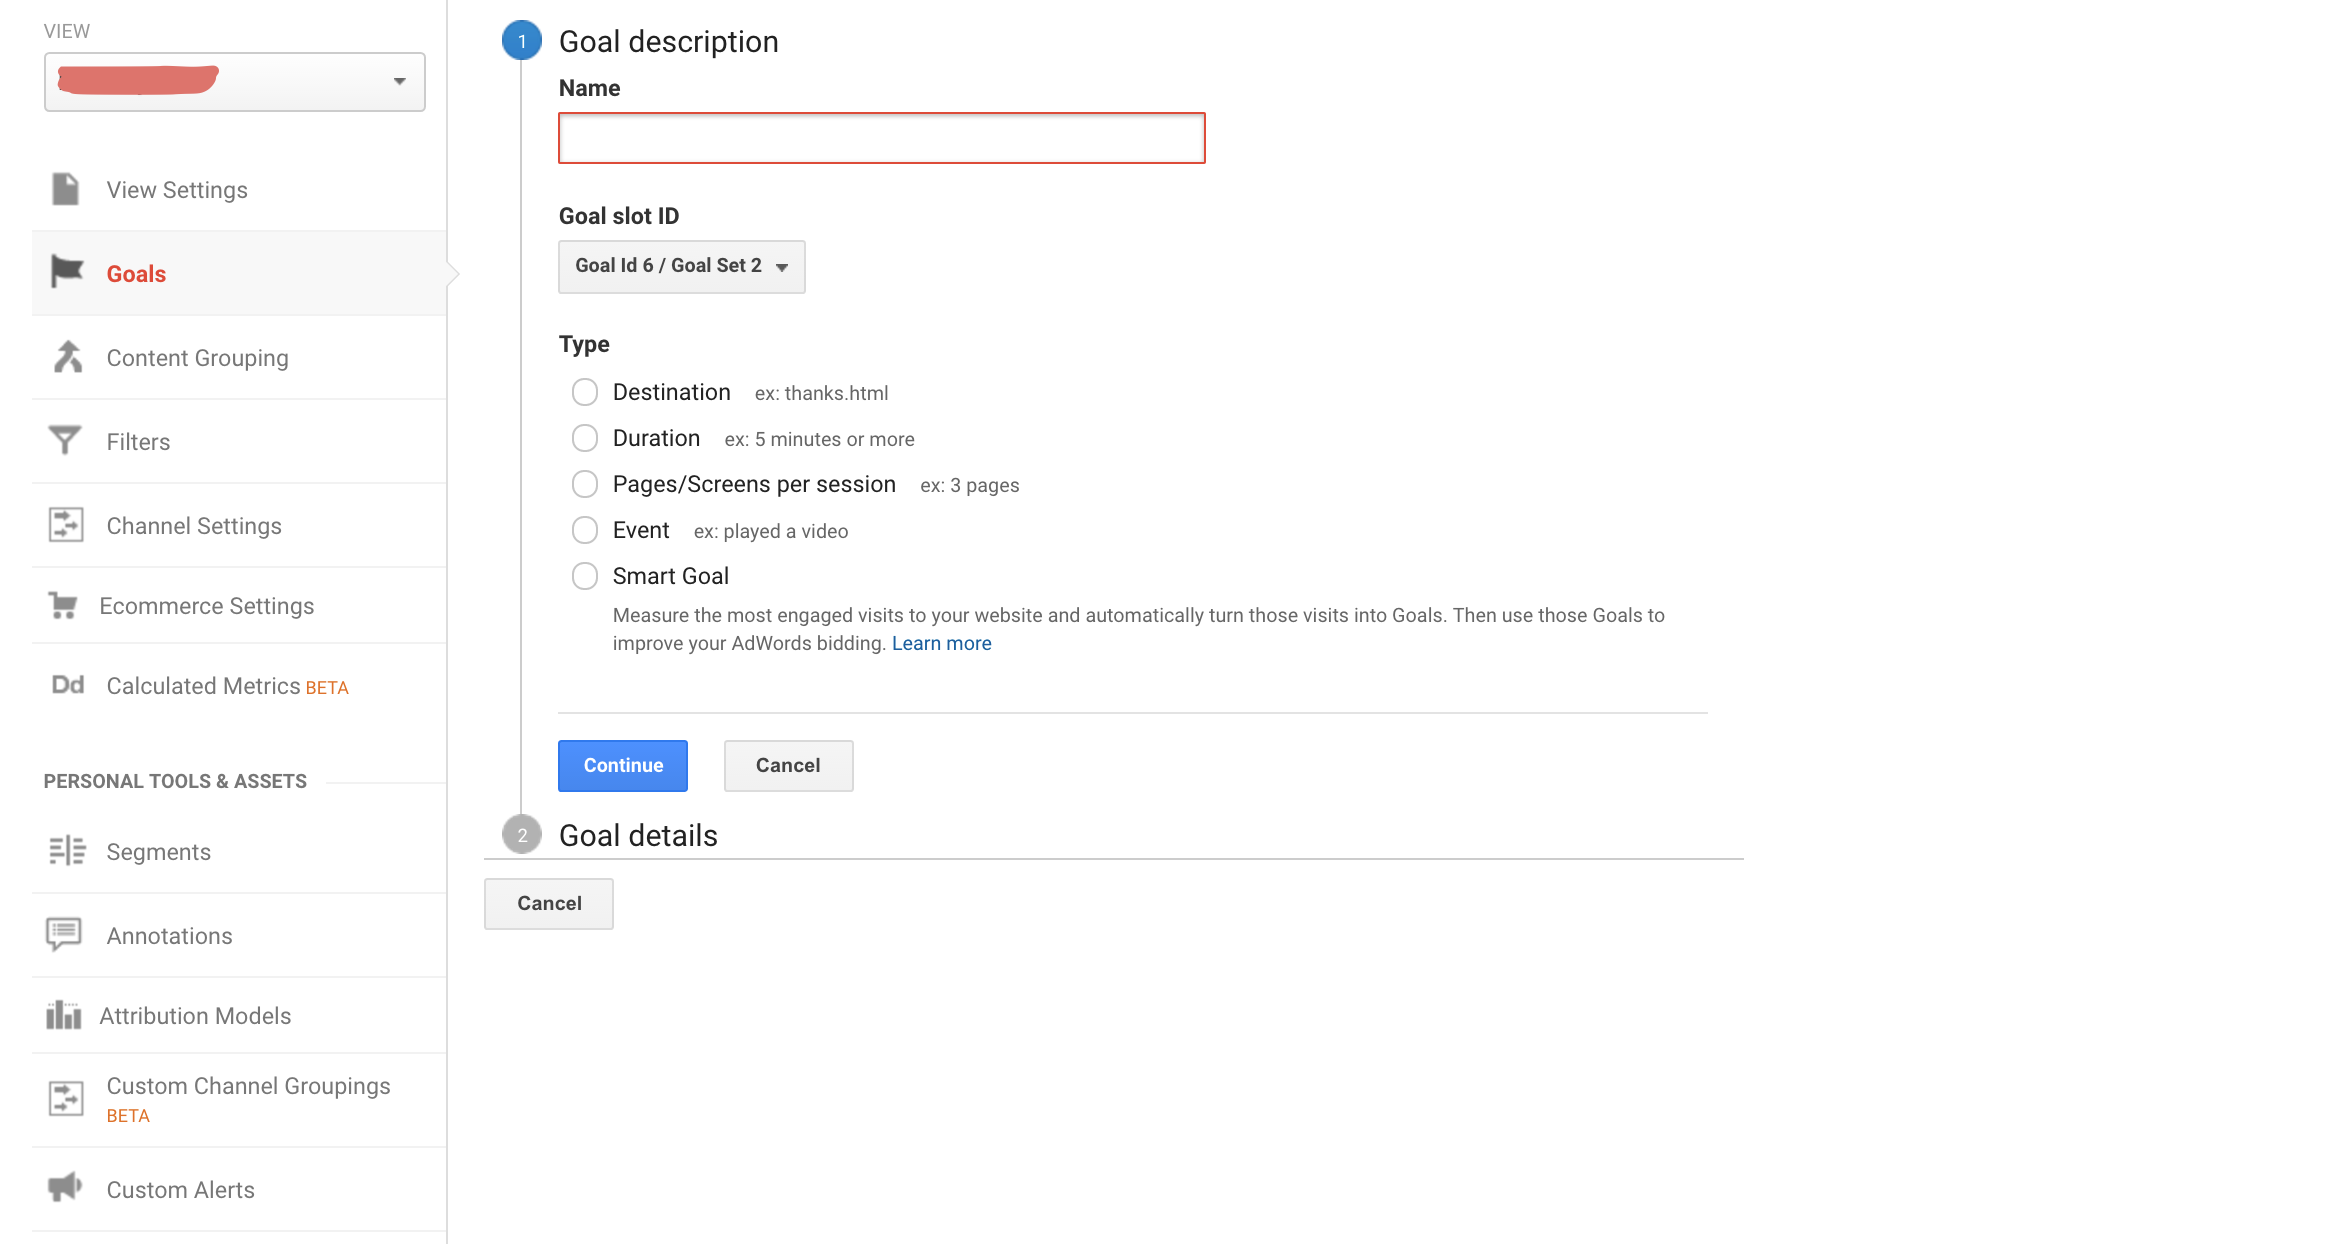
Goals
Enabling ecommerce tracking is simple, and is done at the same time that you set up your Analytics account. For merchants, the ecommerce reporting is essential in understanding site performance and business growth. But what if you have other important actions on your site that you’d like to track?
This is done by creating Goals. Goals can trigger when someone fills out a contact form, signs up for a newsletter, sharings a blog post, navigations from the home page to the contact us page, or even when they stay on the site for longer than 10 seconds.
You can choose what actions or signals of intent are important for your business, and either set up the goal as a destination page, duration, page/screens per session, event or smart goal (measures the most engaged visits to your website and automatically turns those visits into Goals to be used for AdWords bidding). To use event goals, you must set up the events separately.
Campaign Tracking
Google is able to segment out specific channels, but there’s no way for them to know if there unique marketing efforts taking place in those channels unless you tell them. The way to do that is through UTM tagging on inbound links.
By tagging your inbound links, you create clarity around traffic behavior and conversion paths for these specific marketing campaigns. Use the handy URL Builder to tag, and make sure you’re consistent with naming conventions (e.g., use only lowercase letters and hyphens between words).
When you’re ready to view data for the campaigns you’ve tagged, you can find them under Acquisition > Campaigns in Google Analytics.

Channel Groupings
Google has done their homework to capture the right sources in their default channel groupings of Direct, Paid Search, Organic Search, Referrals, etc. Yet, there are some sources that slip through into the “(Other)” bucket that really should be placed in those predefined categories.
As you can see in the screenshot below, traffic is incorrectly being tagged as “Other” in this Google Analytics account. Facebook and instagr should be placed under Social, AdRoll and Criteo are Display and Listrak is Email.

This can be remedied by modifying the Channel Groupings, and adding in the known sources being incorrectly tagged as Other. There are two ways to do this:
Custom Channel Grouping - This is applied to historical data but doesn’t actually change the core data, it simply creates a new “view.” The person that creates a Custom Channel Grouping is the only one that can see it in their account.
Default Channel Grouping - This is only applied to data moving forward, but it does change the actual data and can’t be reverted. The Default Channel Grouping can be see by anyone with access to the Analytics account.
If you aren’t familiar with Analytics, we recommend using the Custom Channels as a precaution to protect your data. If you want to work with Default Channels, be sure to create as a new view to save one account as the “Master.”
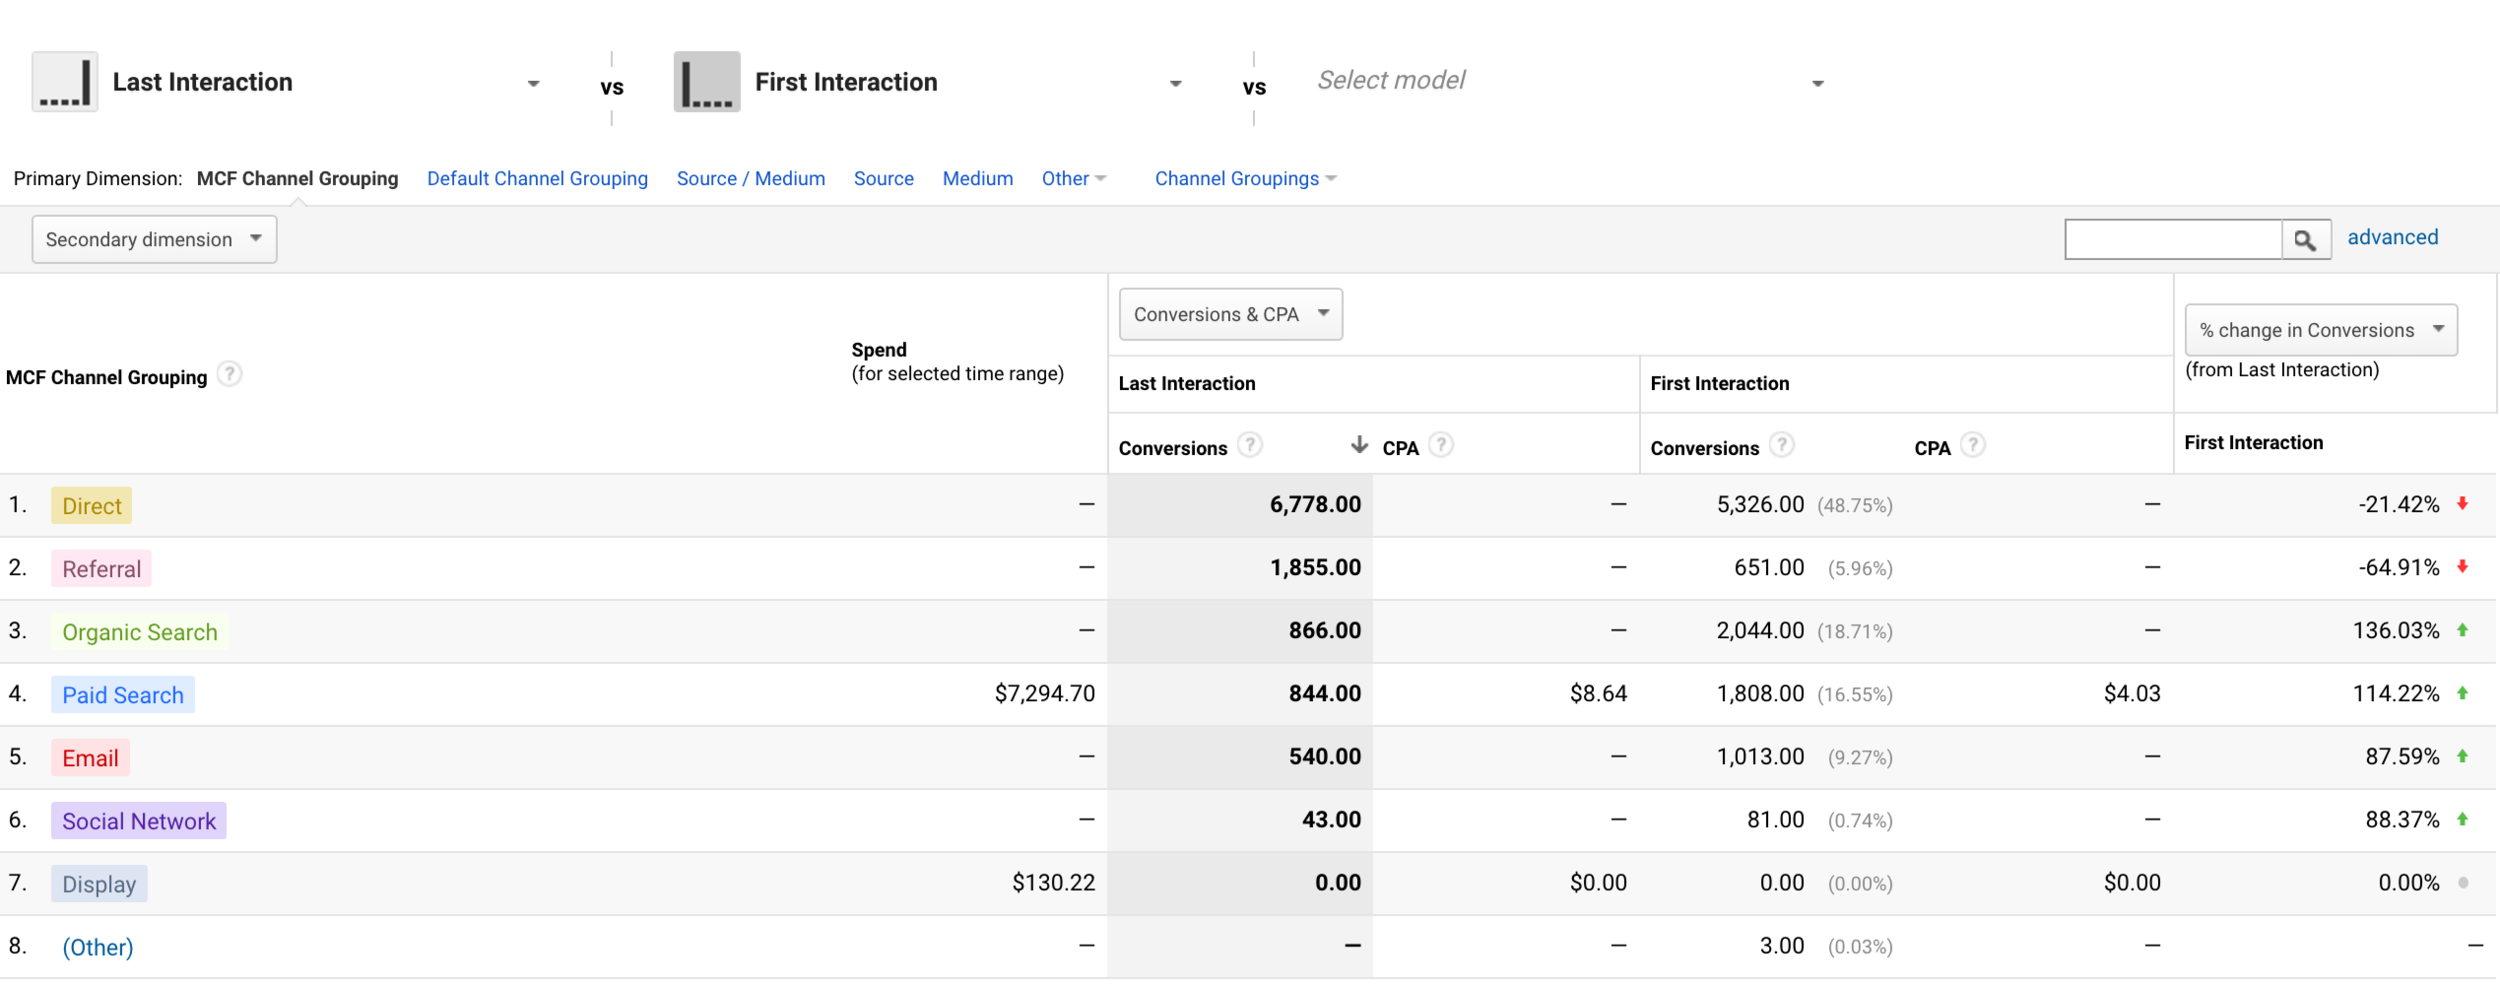
Last Click Attribution
Google’s default attribution model is last click, meaning the channel that drove traffic to the site and resulted in a sale or conversion is given full credit. This is not ideal.
Sure, it tells you which channel is your closer, but it leaves out the full path the consumer took to get there. Maybe they first clicked on a paid search ad but didn’t convert, then visited a blog post from a link on Facebook, then clicked on an email link and then finally visited from a banner ad. The banner ad gets the sale, but there were several steps before that deserve credit.
You can compare attribution models and select a different one that better fits your marketing goals, or create your own customer model.
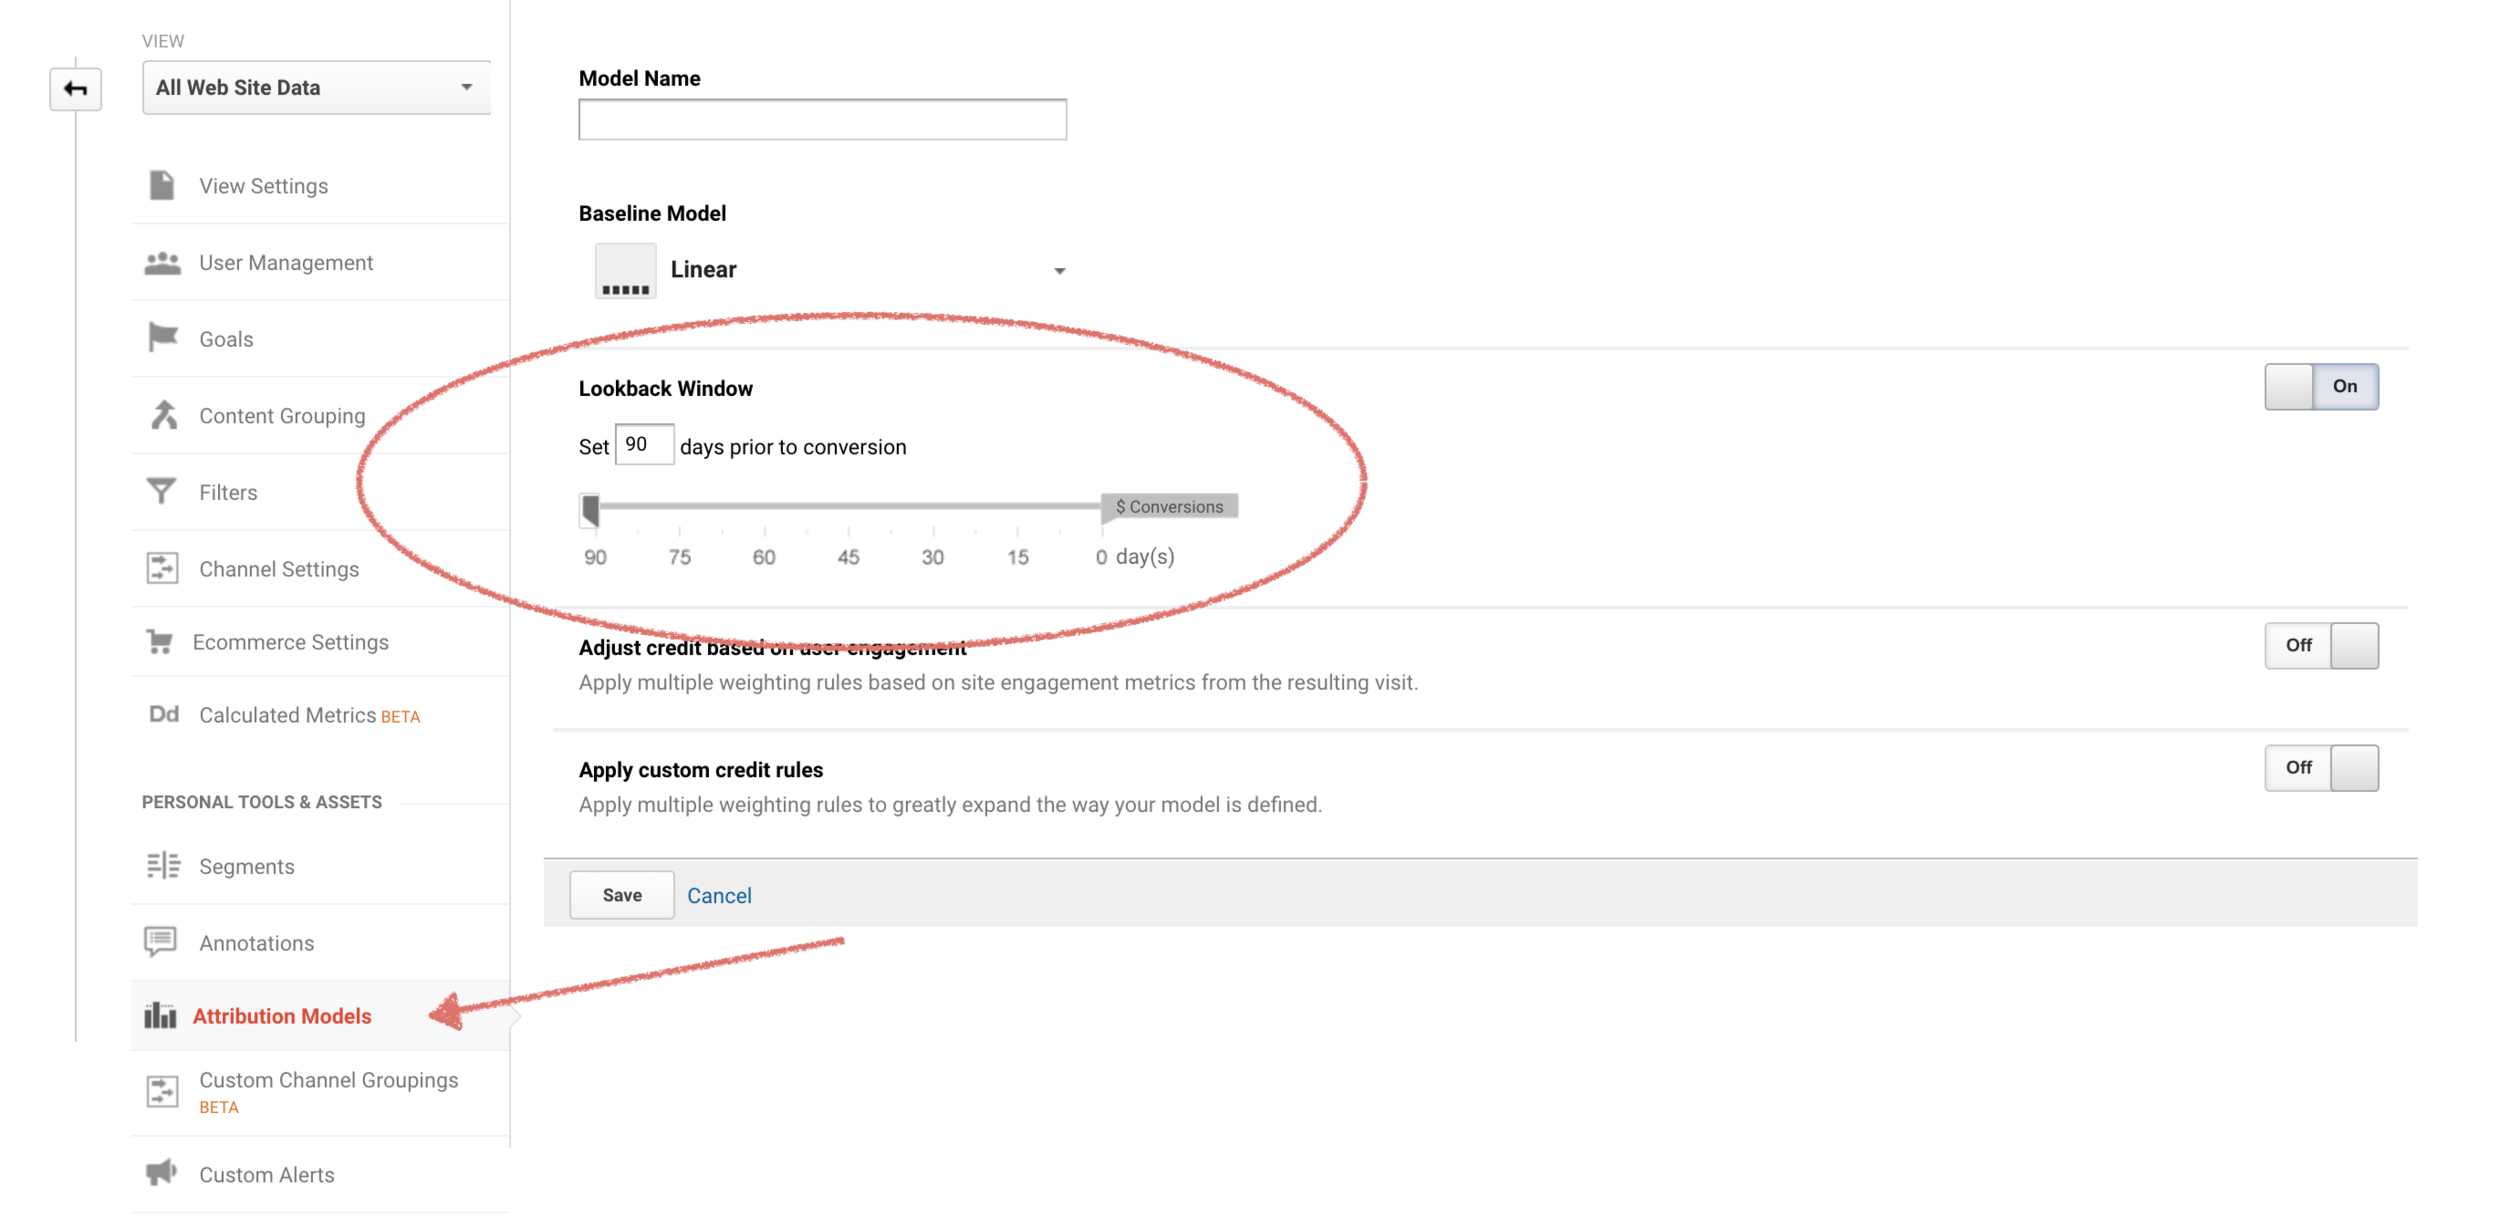
Conversion Lookback Window
The conversion lookback window is the period of time after a customer clicks an ad during which a conversion, such as a purchase, is recorded. The default lookback window for Google Analytics is 30 days.
You can modify this (up to 90 days) if you know that you have a longer or shorter sales cycle, however, it’s only necessary if you change the attribution model to something other than last click. That’s because with last click, the date of the conversion is the date that data hits the report. There’s no need to look back into the past any further. But if you use another attribution model, let’s say Time Decay or Position Based, you may wish to adjust this in the Admin section, under “Attribution Models.”
Some simple changes to the default Google Analytics implementation can ensure that you’re working with more accurate and actionable data. Even if you are unable to make these changes, knowing the default settings and basic features that require customization can help you and your team better align on performance metrics.